Battery Hitchcock
From its completion in 1899 until the 1920s, Battery Hitchcock mounted three 10-inch guns (1888 M1) on disappearing carriages (M1894 and M1896). The easternmost of these, Gun 1, (adjacent to Battery Ward) was later dismounted and shipped away, leaving a two-gun battery, like Battery Ward.
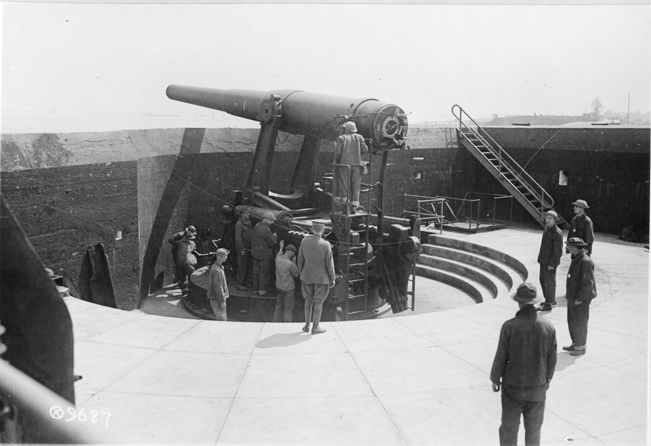
The lower photo gallery at left shows a photo of one of Hitchcock's 10-inch guns, as well as a series of photos of a similar gun at the Army's training center at Fort Monroe in Virginia. In 1899 when they were first installed, these guns, with a range of over 12,000 yards (about 7 miles), were meant to provide mid-range defense for the harbor, with the 12-inch guns of Forts Heath and Revere being only slightly longer in range (about 8.6 miles). [NOTE]
You can compare the ranges of all the guns in the harbor here.
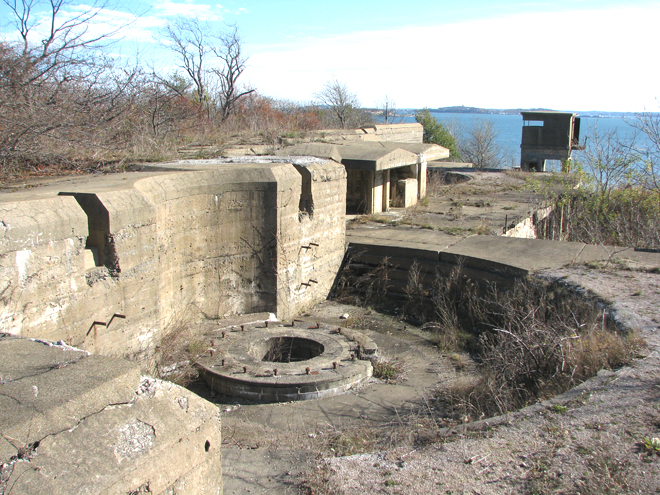
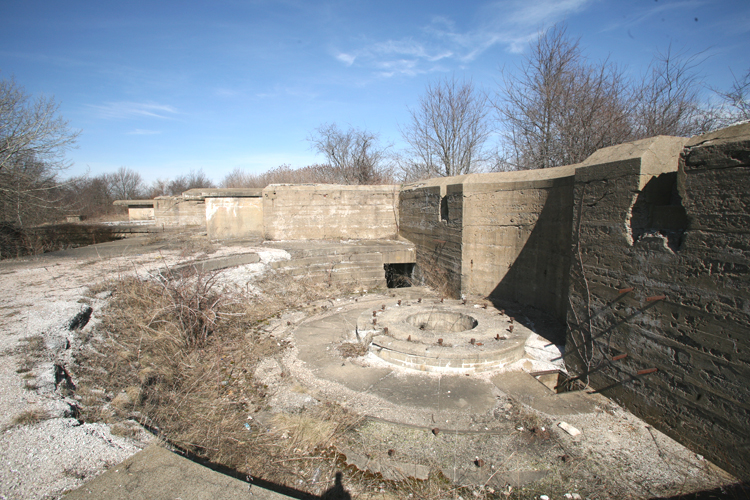
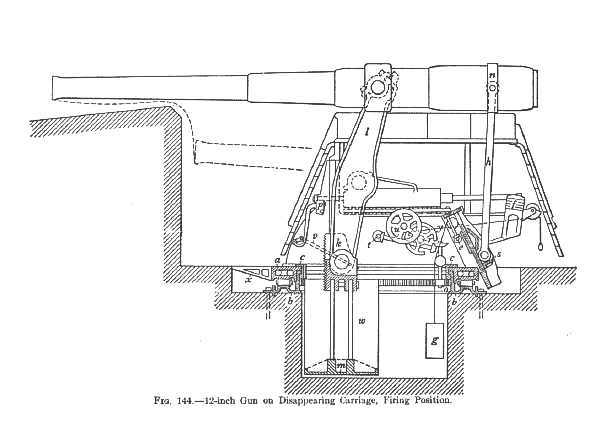
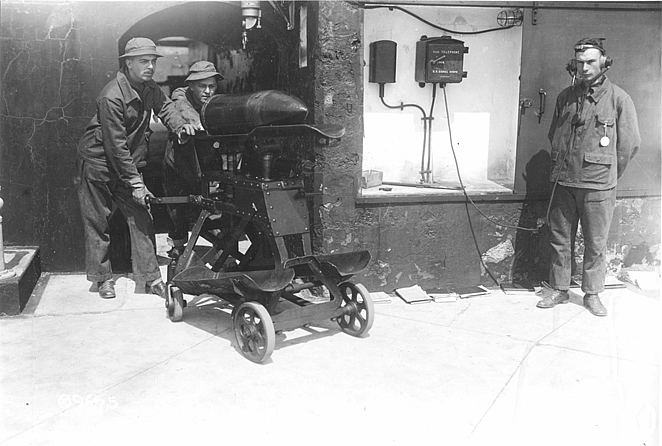
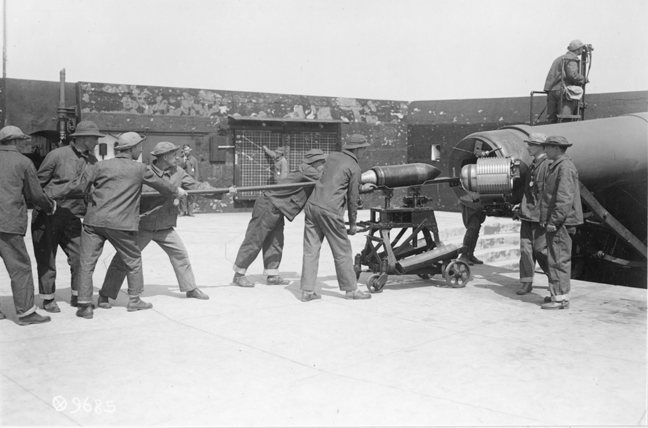
The disappearing carriages was a marvel of mechanical design. Raised to the firing position, a disappearing gun was ready to fire just over the steep parapet wals at the front of a gun pit. When a gun was fired, its barrel traced an elipsoidal course (see Slide 4 in gallery two at left), pivoting back along the huge gun arms, lowering the barrel back below the parapet, and bringing the breech to rest at a level just above the gun platform, where a shell cart (shown in Slide 6 and Slide 7 of gallery two) could be rolled right up to the breech and the shell and powder rammed home by the gun crew. After firing, a huge pile of lead weights beneath the center of the gun was raised by the power of the recoil (which also helped to absorb the shock of the recoil) . Then, when the gun was ready to be fired again, a lever was tripped and the weights fell back down into a well at the center of the emplacement (see Slide 2 and Slide 6 in gallery one at left), causing the gun to rotate forward again and to rise above the parapet to the "in battery" position, ready for the next shot.
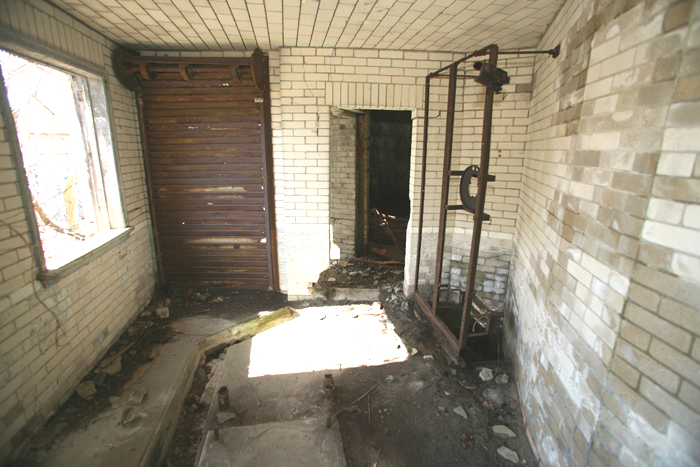
Ammunition was brought about 800 ft. up the hill behind the battery from the wharf by means of wheeled cars on tracks, pulled by a steel cable. From here it was stored in the shell rooms and magazines beneath each gun position. At the outset, ammunition was raised to the firing platforms by means of block and tackle on curved davits, or hoists, which hung over the at the rear of each platform. Later, electrically powered hoists were installed between the magazines and the gun platforms, and powder and shells were raised from the shell rooms and magazines in this fashion. Rough holes jackhammered out of the concrete floors of the ammunition storage shelters show where the powder hoists were retro-fitted. A Taylor-Raymond hoist was original (1896) with each of Guns 1 and 3, and was added to Gun 2 in 1902.
Although the general notion is that Boston's coast artillery was rarely fired, records for Gun 2 reveal that over its approximate 15-year life, it fired 128 rounds, or an average of about 8 shots per year. These shots were likely fired during summer camp for the Massachusetts Volunteer Militia (National Guard), as soldiers were trained and qualified as Coast Artillerymen. The fact that Fort Strong was more isolated from residential neighbors (except for the poor patients at Long Island Hospital!) may account for the more frequent firing of its big guns.
General Electric 25 KW generator sets (a surviving example of which is shown in the photo gallery at left) were added to Battery Hitchcock in 1916. These replaced power from the main generating station of the fort (located in the reverse slope of the bluff at the north end of the parade ground), which ceased to be used for the guns in 1925. Direct current was generated to retract the gun, returning them to loading position without firing them, when necessary. The guns could also be hand-cranked back down to loading position. Power was also used to operate lights within the galleries and magazines.
Peacetime manning of the battery "by the book" would have called for a squad of 25 men and an ammunition squad of 14 for each gun. For the 3-gun battery, then, Hitchcock would have been authorized a crew of 117 men at full peacetime strength. It is unlikely that this staffing level was ever attained in practice.
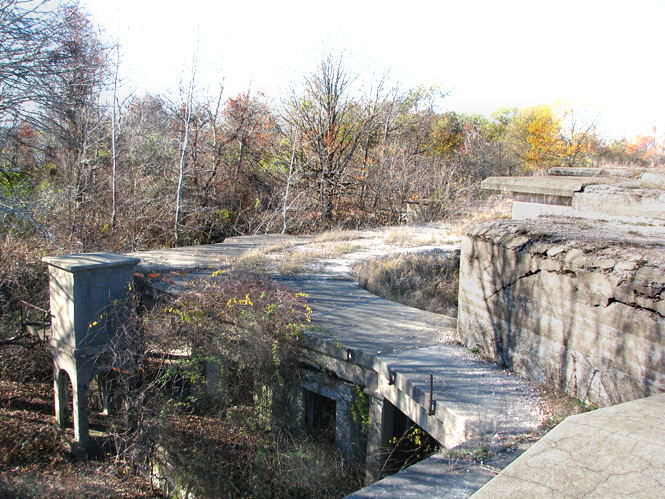
Fire control for the battery was initially conducted from observation and plotting stations not far from the guns themselves, in low towers behind Gun 2 and further to the west, where the coincrete pillars that used to mount the fire control instruments are still visible (althiough the wooden towers built around them have disappeared). The extensive (and more accurate) system of fire control towers used during WW2 was yet to be developed.